CHECK OUT OUR COLLECTION OF PREMIUM WEDDING VENUES IN FRANCE
Introduction: A Personalized Wedding Project
Bonjour!
As I mentioned in my wedding update post, my mother designed and made her own wedding dress, she was an extremely creative lady! It meant a lot to me to include an element of this into my wedding day, so I decided to use some of the lace to make my DIY wedding own vintage lace wedding cuff and today I thought I would share my DIY lace cuff tutorial.
Finding Inspiration for Your DIY Wedding Cuff
Discovering the Perfect Lace Style
Ok, so while I was looking for lace style items for my wedding I came across this image of a beautiful lace wedding cuff on ‘Pinterest’.
It’s actually available on Etsy.com Here’s the link: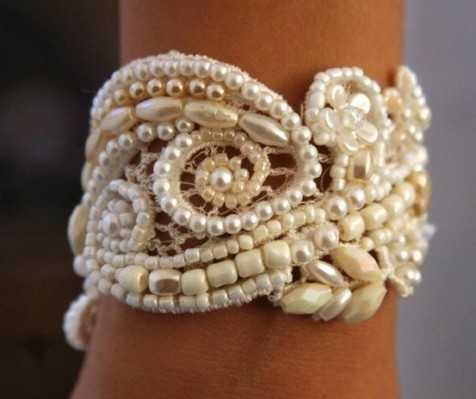
Etsy Weddings
Etsy and Other Online Inspirations
This got me thinking, so I researched some more and found some beautiful lace bridal cuffs including these:
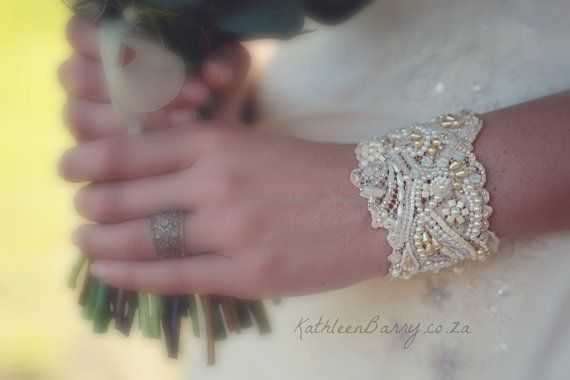
Kathleen Barry Jewelry
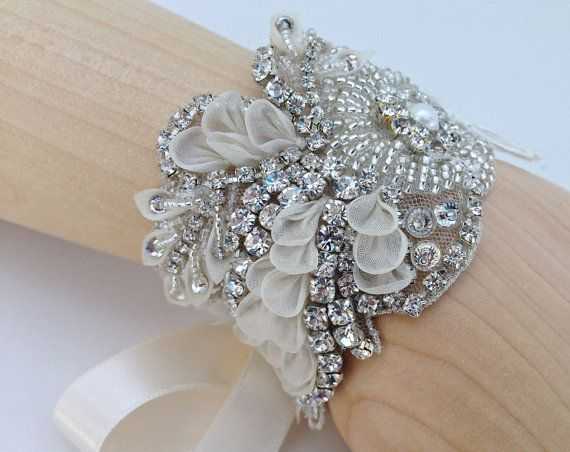
A Goddess Devine
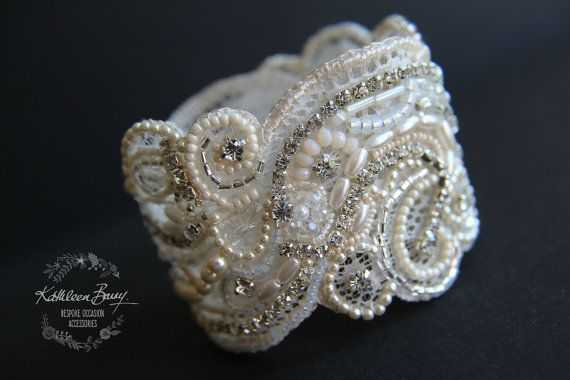
Kathleen Barry Jewelry
Embracing Lace in My Wedding Theme
I‘d already chosen my dress, which has two different layers of lace on it and being a big fan of lace anyway it was going to feature heavily throughout my wedding theme. So when I saw these lace cuffs I knew I wanted one to wear at my wedding but unfortunately, these were way out of my price range.
DIY Approach: Crafting Your Own Vintage Lace Cuff
Utilizing Family Heirlooms
Luckily for me, my Mom has collected lots of lace remnants over the years so I thought I’d have a go at making one for myself. I found some lace left over from when my Mom made her own wedding dress which was perfect for turning into a bracelet and I thought it would be a lovely acknowledgement to my Mom to be wearing something made from the lace off her wedding dress on my wedding day.
Gathering Materials for Your DIY Project
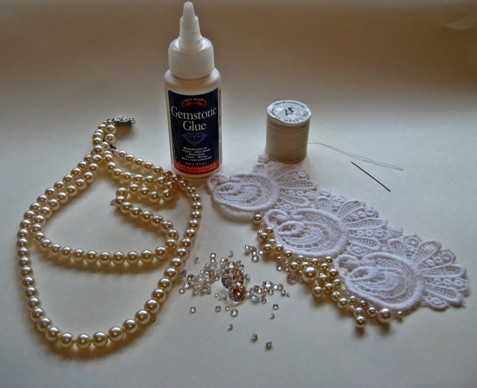
I bought some broken pearl necklaces and loose diamante stones on Ebay and gathered together the rest of the items I figured I’d need:
- Loose pearls
- Loose gemstones
- Lace (measured to fit my wrist)
- Needle and cream thread
- Gemstone glue
- A fastener or clasp (I used the one off my broken pearl necklace)
Step-by-Step Guide: Making Your Lace Cuff
Dyeing the Lace
Firstly, I needed to dye my lace. My wedding dress has ivory lace but the lace off my Moms dress was white so I made up some tea in a bowl (I used 1 teabag), waited for it to cool and then dipped the lace in a few seconds at a time until I felt it was the right colour.
Arranging and Attaching the Pearls
Next I started to arrange the pearls loosely on top of the lace to get an idea of where I wanted them to go. When I was happy I picked up the needle and thread and started securely sewing the pearls in place.
Adding the Gemstones
When I’d finished with the pearls I sorted out my loose gemstones and again loosely placed them around till I was happy and then glued them with a gemstone glue. This means that you can still wash the lace and the stones won’t come off although I’d only recommend hand washing and even then, not that often!
Attaching the Clasp
I sewed a vintage clasp from a broken pearl necklace to close the bracelet, which I felt really added to the Vintage feel of it.
Conclusion: Enjoying Your Handmade Creation
What I ended up with was this: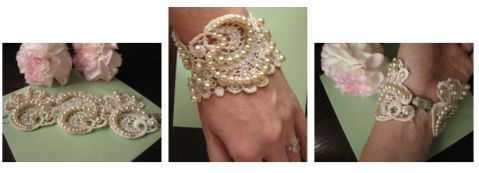 I was really pleased with the result. I’ve saved myself a fortune and can’t wait to wear it on my wedding day. I hope I’ve inspired someone else to try my DIY lace cuff tutorial and create their own vintage lace cuff.
Best Wishes
Angela – Belle Bride


