Whilst browsing through some of the visual delights of Pinterest, I kept coming across fabric pom poms used as wedding decoration. I love these as a great fun way of adding some texture and colour to your wedding celebration, so that was it I was set about trying to create my own and sharing with you my fabric pom poms tutorial.
Pom poms come in a wide variety of colours, but I chose to make a nutural toned one to compliment my new office once finished.
French Wedding Style Blog – Photography © – French Wedding Style
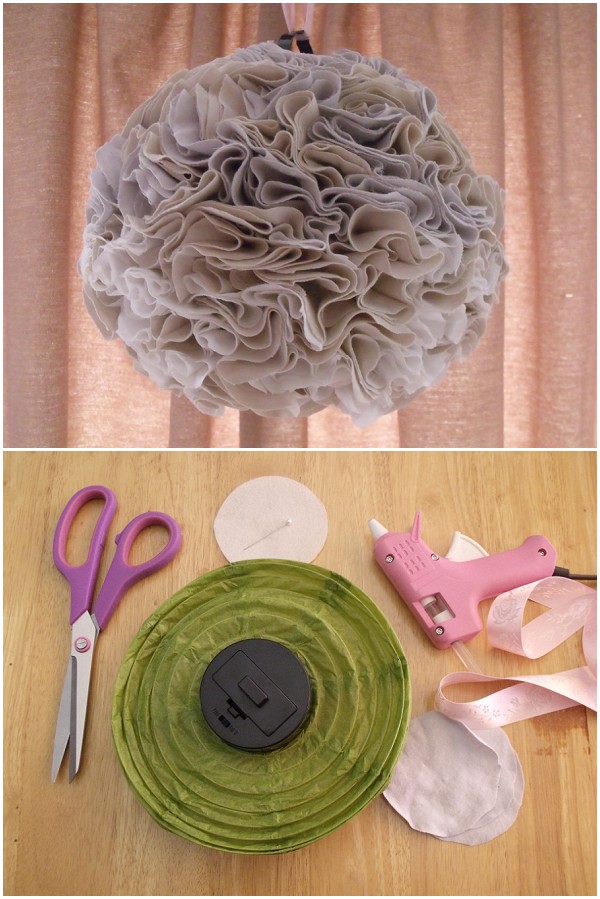
Materials and Equipment
Paper lantern
Scissors
Paper
Pins
Ribbon
Glue gun
Fabric
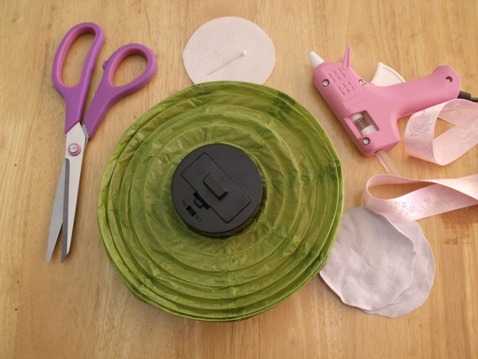
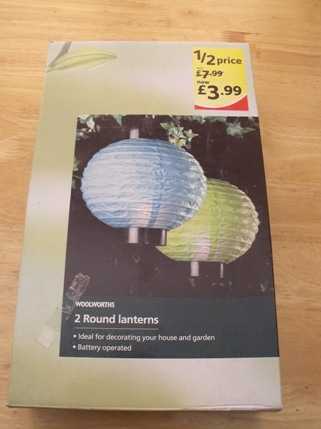
Keeping with my theme of reusing items, I raded the garage and found some old paper lanterns that I brought when (UK readers will know what I mean) Woolworths finally closed their doors.
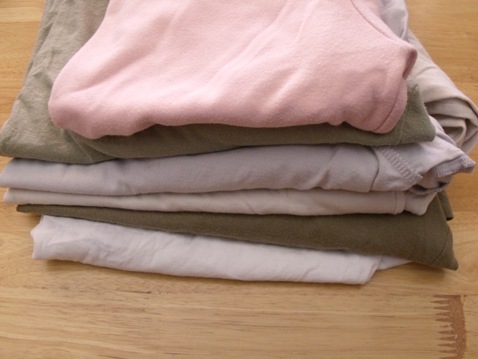
For the fabric for my Pom Pom I found and asked my husband for some of his old tshirts in a variety of colours, but all in nutural colours.
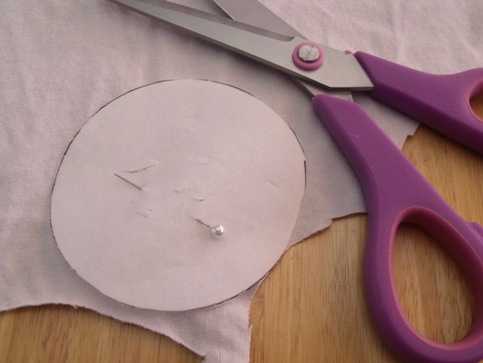
The first job is the most laborious, cutting out the circles. Cut out a circle approx 3inch diameter from paper and then pin it to your chosen fabric and cut out. A tip if you have good scissors double fold the material so you are cutting out more than one at a time.
To give you an idea I ct up 3 mens t-shirts to have enought circles to fill my Pom Pom and make it nice and fluffy. This is not a quick job, so my advice would be to do this in stages, so you don’t get bored with the project before you start!
This is the pile for one and half sides of t-shirts.
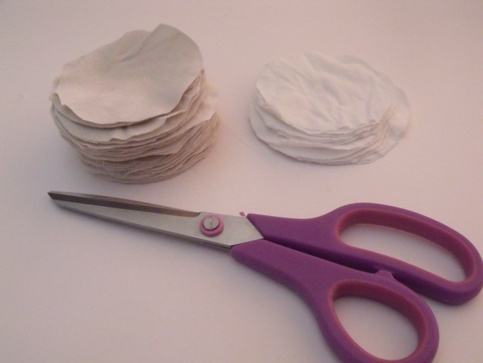
Once completed all your circles, plug in your glue gun and time to get sticking.
Fold one circle in half and place some glue in the centre.
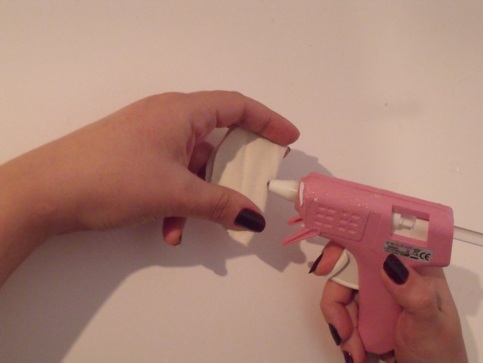
Then fold that in half and press the tip so that the glue sticks.
I found it easier to place your fingers inside your new fortune cookie shaped circle and then put some more glue on the tip.
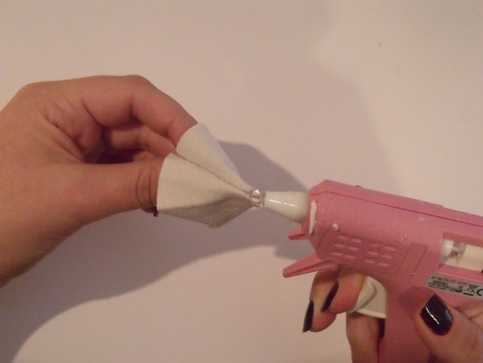
Whilst the glue is still hot, put one hand inside your paper lantern and stick the circle onto the paper. Caution – watch your fingers on the inside of the paper and DO NOT touch the back of where you are glueing.
Apologies forgot to take a photo at the start so this is towards the end. But repeat the process until the whole of the lantern is covered.
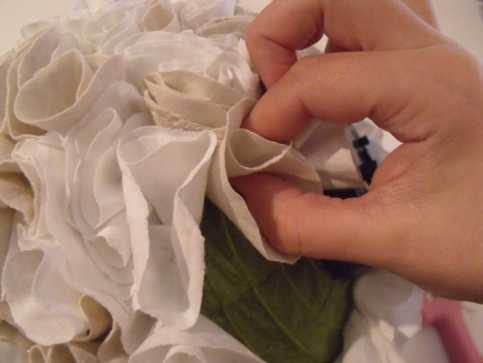
Once complete (this did take my approx 4 hours in total with cutting and sticking) thread some ribbone through the handle and et voila, your fabric Pom Pom is complete.
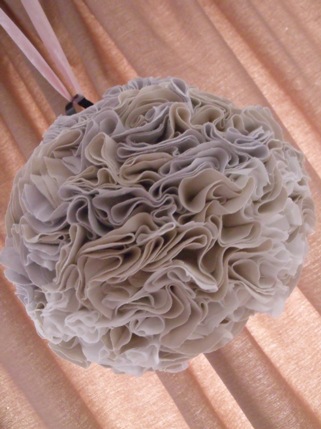
Another word of caution – I decided to start on a rather large paper lantern. Whilst these do give a great dramatic effect to any celebration, I would start with a small one and work your way up to a full scale giant fabric pom pom.
Have fun and don’t forget I would love to see pictures of your DIY projects on facebook.


You made that? It’s gorgeous!
Do I sense a note of suprise Tori? I did indeed, but instead of a decoration, my two cats have decided that it is a great new toy!